Faïence is the most-laid finish in an Algerian home: in the kitchen behind the worktop, in the bathroom from floor to ceiling, sometimes in the hall. It is also the job many DIYers start with, because a wall forgives more than a floor: nobody walks on it.
What separates well-laid faïence from a botched job is decided before the first tile, at the set-out. A wall whose cuts end up as thin slivers in a visible corner, or whose joints drift a centimetre by the time they reach the ceiling, is seen every day for twenty years.
Prepare the wall
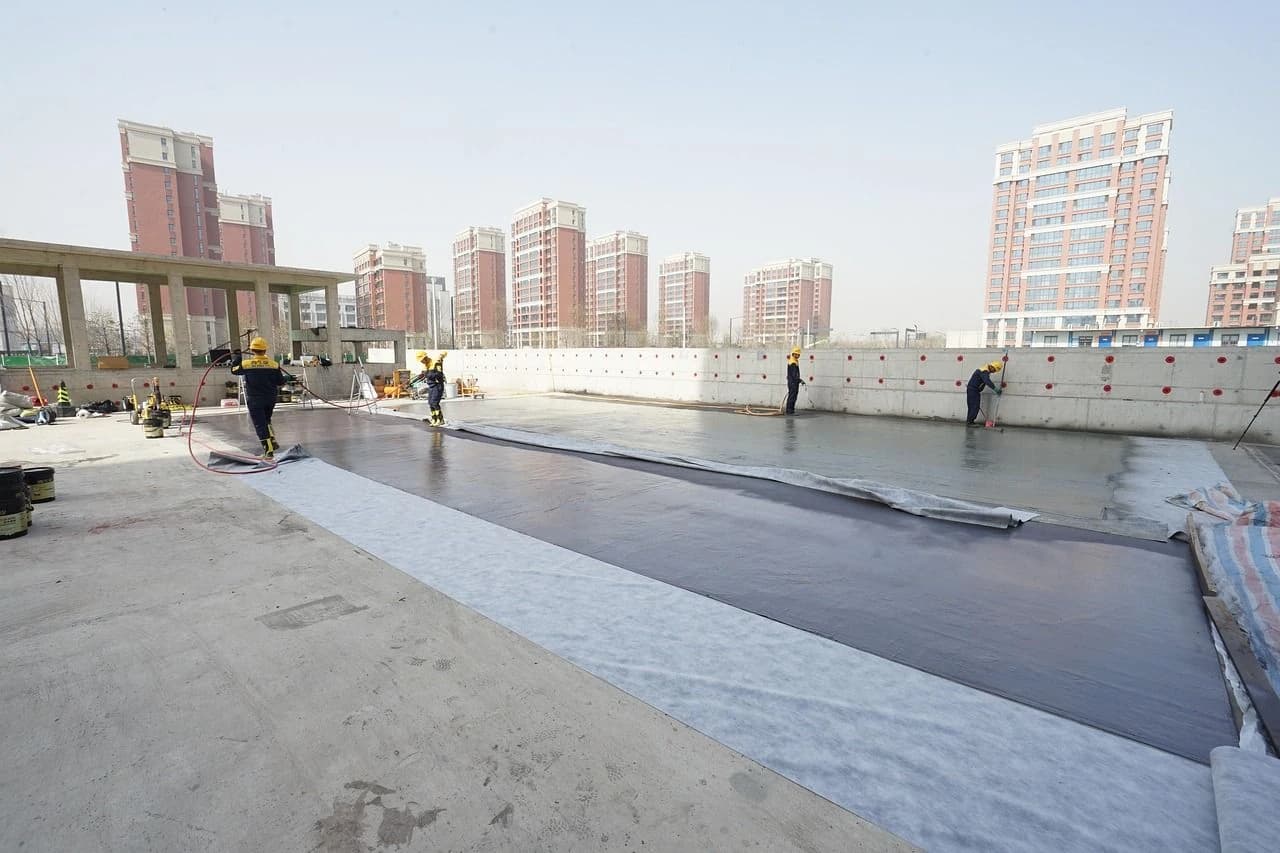
The surface must be sound, dry, clean and flat: render that sounds hollow is hacked off, holes are filled, old gloss paint is sanded or primed. On a bathroom wall, the under-tile waterproofing around the shower goes on before the faïence, never after.
Check the plumb with a long level or a cross-line laser: a wall leaning 5 mm over its height is taken up in the adhesive bed; one leaning more is straightened with render before tiling.
The set-out: half the job
Dry-lay a row of tiles on the floor with their spacers along the wall, to see where the cuts fall. Shift the row until the cuts are equal at both ends, and never less than half a tile in a visible corner.
Do not start at floor level, which is almost never level. Fix a perfectly horizontal batten at the height of the second row, lay everything above it, then come back and lay the bottom row in cut tiles at the end, once the adhesive has set.
Adhesive and trowel
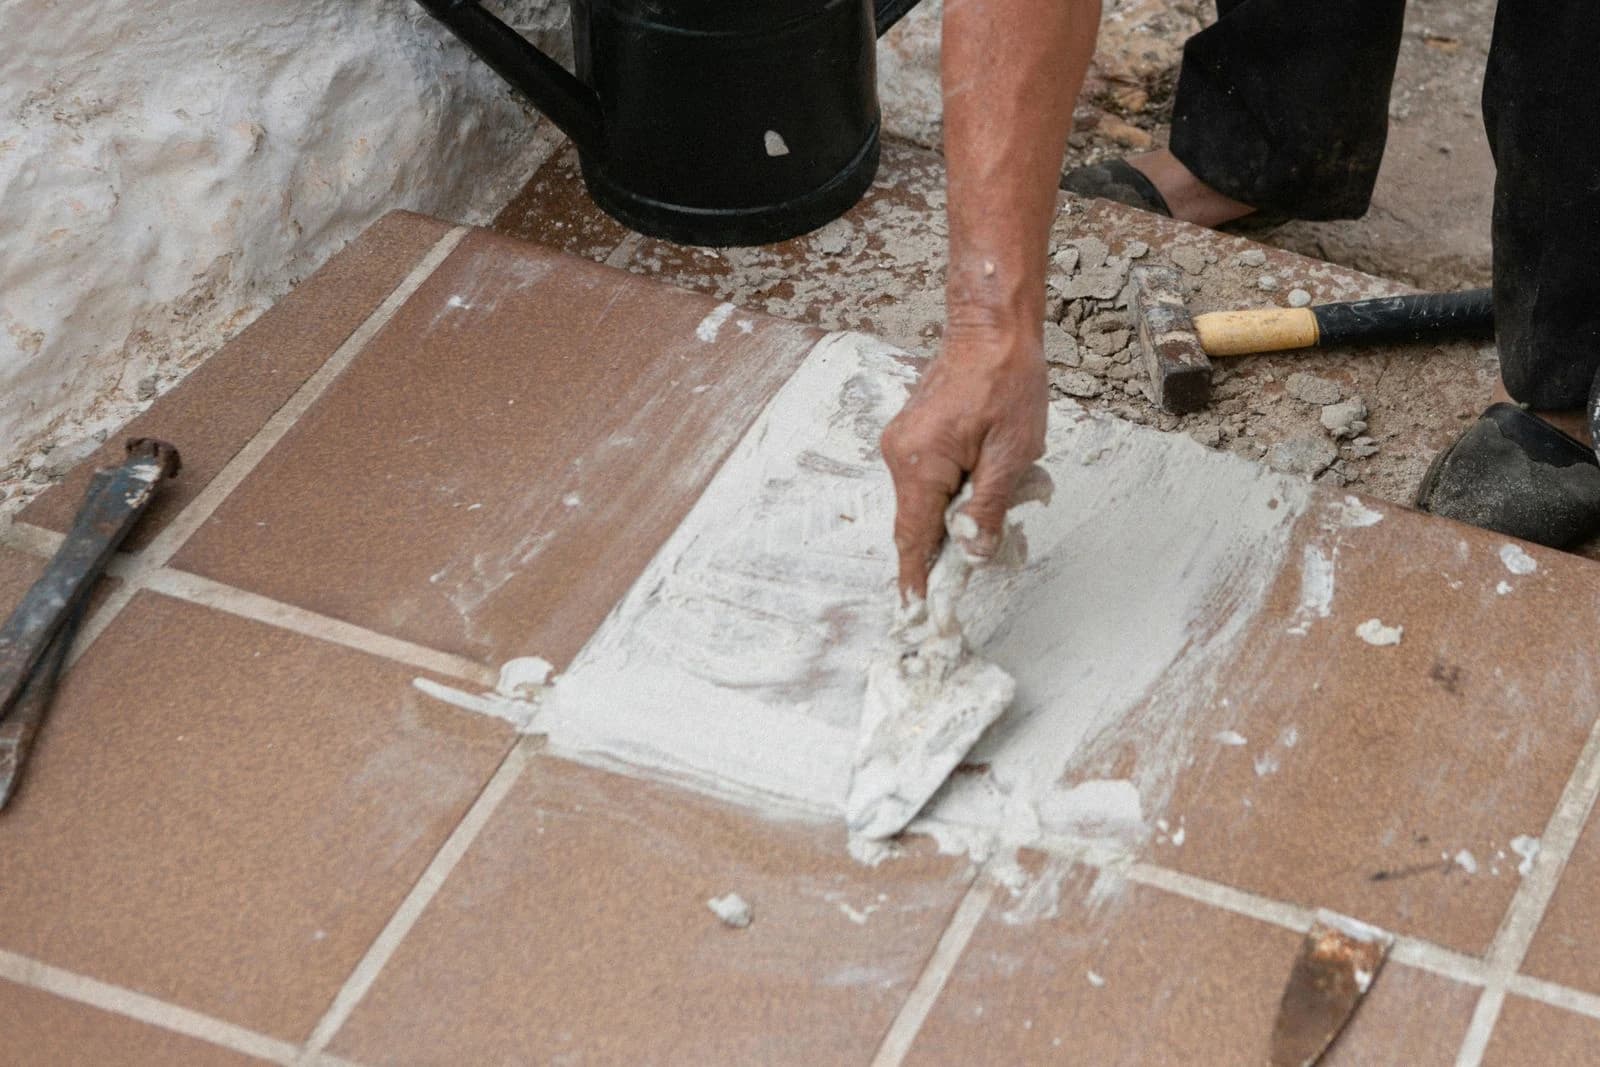
For 25 × 40 or 30 × 60 faïence on an interior wall, a C1 tile adhesive is enough. Spread it one square metre at a time, flat first and then combed at 45°, with a 6 mm notch for small formats and 8 to 10 mm for 30 × 60. Press each tile in with a slight slide, then tap it with a rubber mallet.
Lift a tile now and then: its back should be covered with adhesive all over. If the ridges have not been flattened, the adhesive has started to skin; scrape it off and spread fresh.
Cuts and finishes
Straight cuts are made with a manual tile cutter, cut-outs around a socket or a pipe with a grinder and diamond disc or a hole saw. External corners are finished with an aluminium or PVC trim laid with the tiles.
Internal corners and the joint with the shower tray, the bath or the worktop are not grouted with cement but with sanitary silicone: they are joints that move, and a cement joint there cracks within weeks.
Step by step
Indicative time: two days
Check and prepare the surface
Check plumb and flatness, fill, sand or prime, and apply waterproofing in the shower zones.
Set out
Dry-lay a row with spacers to share the cuts equally between both ends of the wall.
Fix the starting batten
Screw a level batten at the height of the second row to carry the tiles while the adhesive sets.
Spread and lay
Spread adhesive over a square metre, comb it, press the tiles in with 2 mm spacers and check the level regularly.
Lay the bottom row
The next day, remove the batten and lay the bottom row in tiles cut to the floor.
Grout and clean
After twenty-four hours, work the grout in diagonally with a float, clean with a damp sponge, then run silicone in the internal corners.