Ten working days is the time a well-prepared bathroom takes: materials delivered before the first hammer blow, choices settled, tradespeople following one another without waiting. It is tight, and it holds if every step is done once and in the right order.
What derails a bathroom job is almost never the tiling: it is a decision taken too late (« actually, a walk-in shower »), a product missing on the morning it has to go in, or a drying time cut short that means redoing everything. The schedule below assumes everything is on site on day one.
Before day one: decide everything, deliver everything
The plan must be fixed: where the toilet, the shower or bath, the vanity, the water heater, the sockets and the lights go. The 3D planner helps draw it and gives the exact list of tiles, adhesive and grout.
Have the tile and faïence boxes from one lot, the sanitaryware, the taps, the waterproofing kit and the consumables delivered before the start. A low-profile shower tray that arrives on day 8 holds up the whole end of the job.
The waits that are not negotiable
Under-tile waterproofing has to dry as the instructions say, usually twenty-four hours between coats, and a twenty-four-hour flood test before tiling a level-access shower is the best insurance against a leak into the flat below. Adhesive needs twenty-four hours before grouting. Epoxy grout and silicone need another day before the first shower.
Saving a day on these waits means risking ten. The schedule puts them overnight and over the weekend wherever it can, not in working days.
What if you live in the flat?
Plan for ten days without that bathroom. In a flat with only one, a temporary toilet and somewhere to shower with family are part of organising the job, just like protecting the common parts and agreeing the noise of demolition with the neighbours.
When ten days is not enough
A bathroom where the toilet waste moves, a slab that needs repair, a floor that flexes or a window to replace takes longer. Qarmoud Atelier usually schedules two full weeks for a complete bathroom, with a margin for the unexpected — which is what each project’s calendar shows the client in their space.
Step by step
Indicative time: ten working days
Day 1 — Strip-out
Protect the way in, turn off the water, remove the sanitaryware, faïence and tiles down to the substrate, and bag up the rubble.
Day 2 — Plumbing
Run the new supplies in multilayer pipe, fit the wall-hung toilet frame and the PVC wastes with their fall, then pressure-test the system.
Day 3 — Electrics and making good
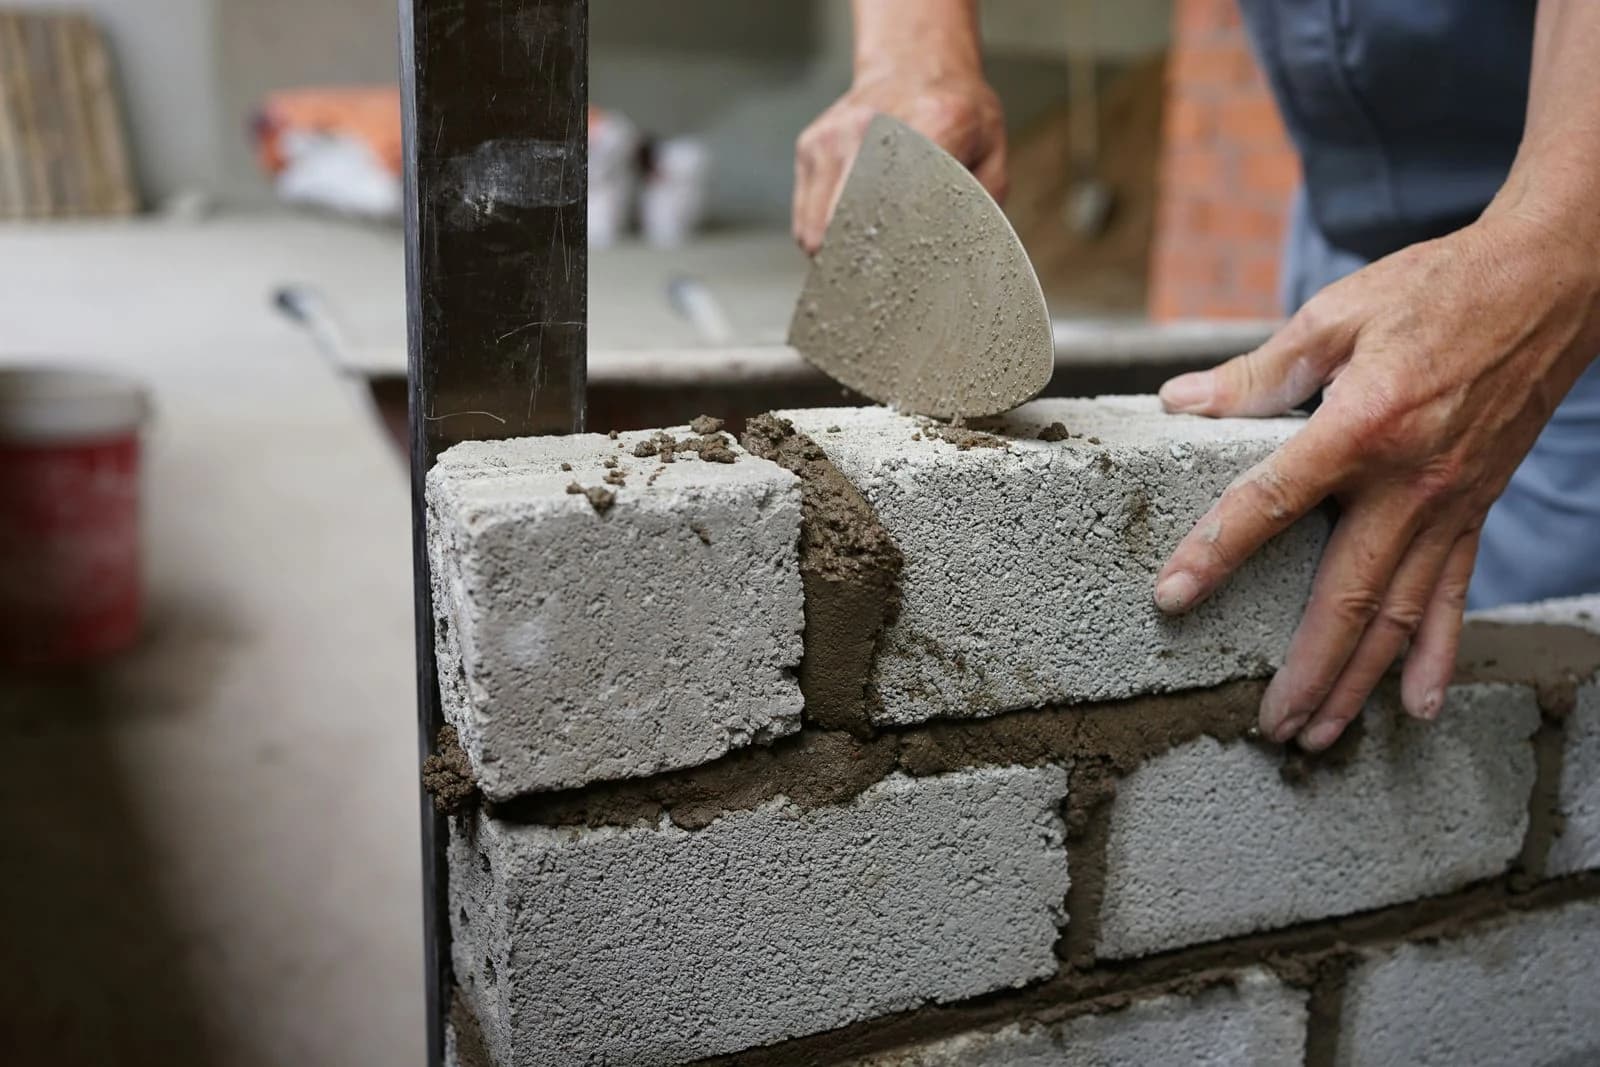
Run the conduit, place the back boxes outside the shower zones, connect to a 30 mA RCD, then fill the chases with mortar.
Day 4 — Waterproofing
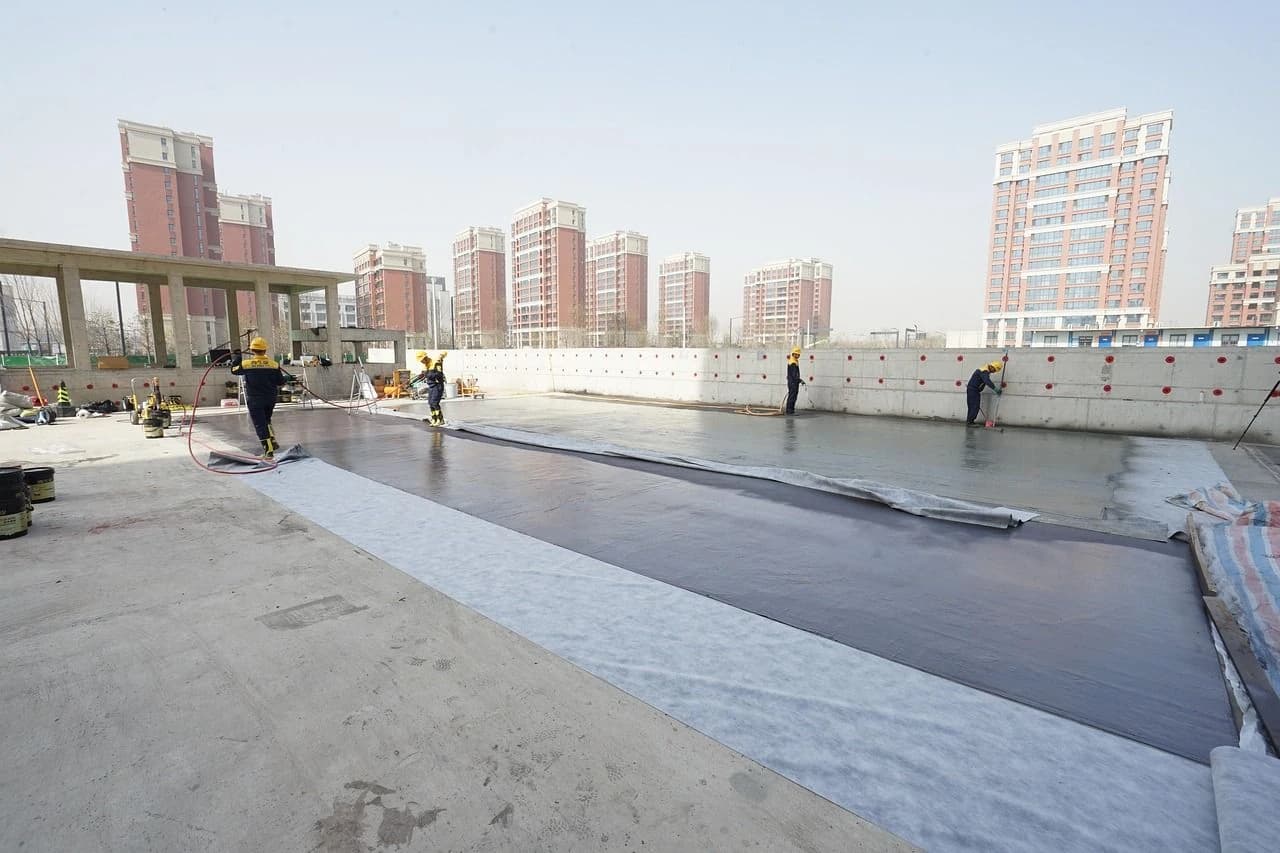
Apply the primer, then the first coat of under-tile waterproofing on the floor and the shower walls, with corner tapes and collars around the pipes.
Day 5 — Second coat and test
Apply the second coat, fit the low-profile shower tray, then flood-test the shower area overnight.
Day 6 — Floor tiles
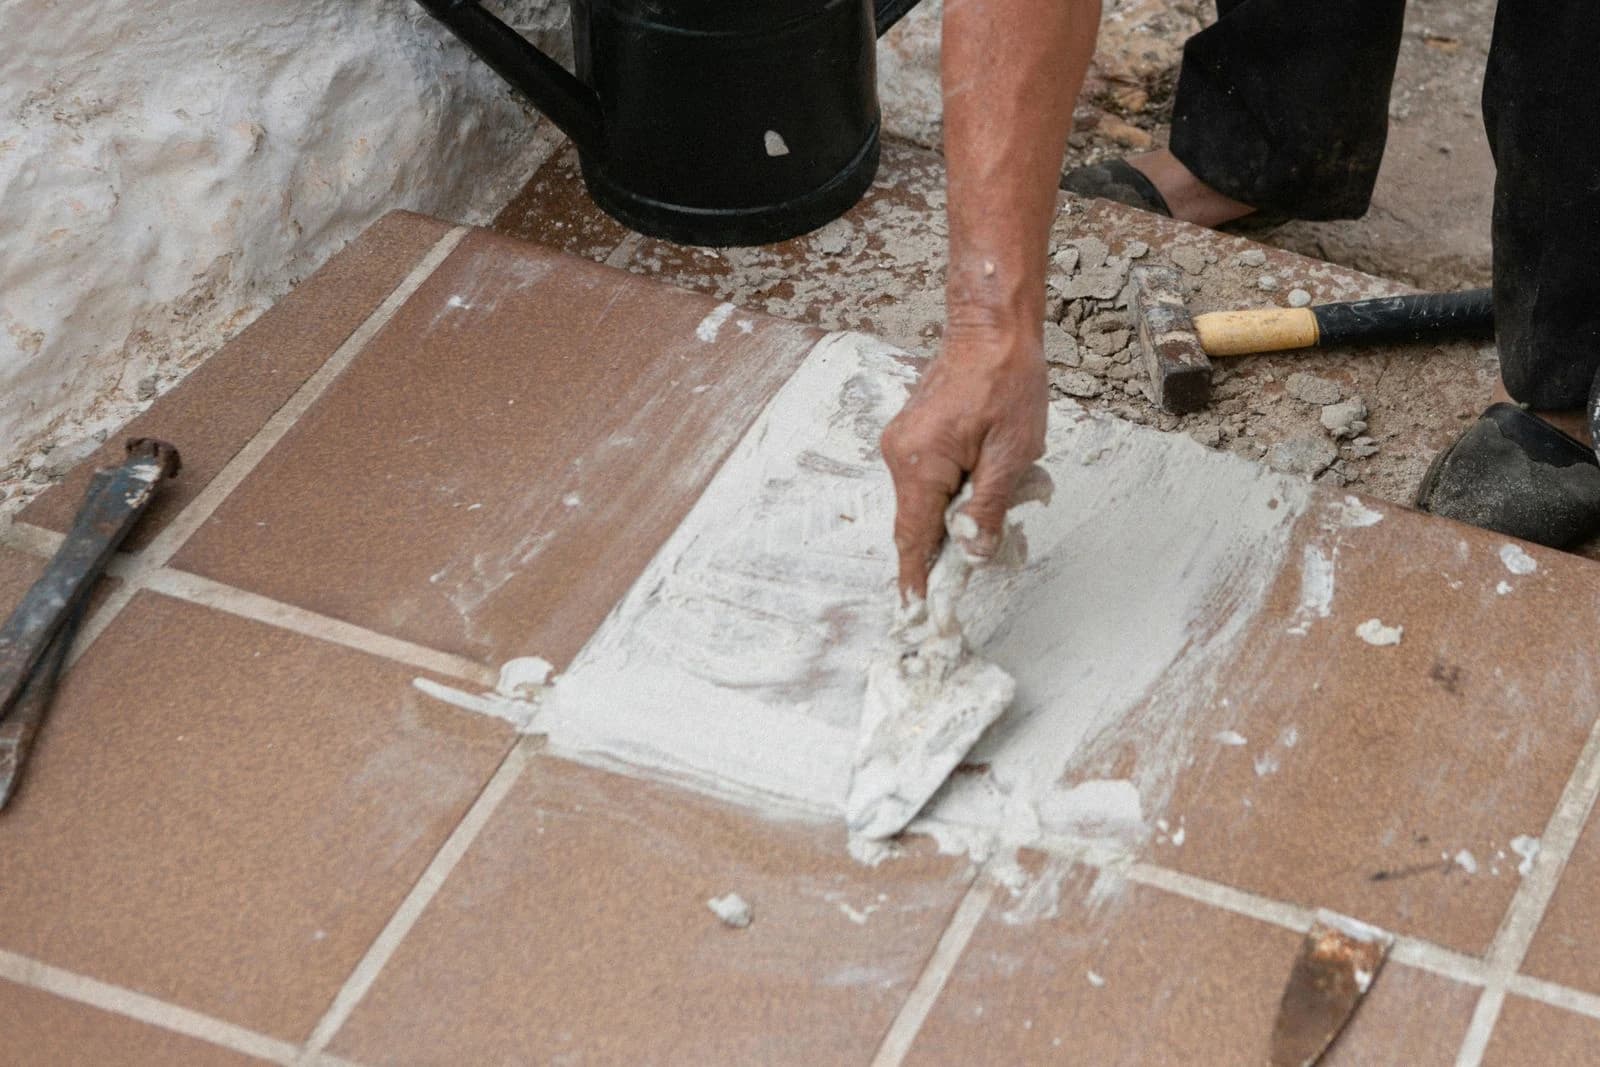
Set out, then lay the floor tiles in deformable adhesive starting with the shower, keeping the fall to the drain.
Day 7 — Wall faïence
Lay the faïence from a batten fixed at the second row, cut tiles at the top, corners finished with trims.
Day 8 — Grouting
Grout the shower in epoxy and the rest in cement grout, cleaning off the haze before it hardens.
Day 9 — Sanitaryware
Fit the wall-hung pan, the vanity, the taps, the shower screen and the accessories, then connect and check every outlet.
Day 10 — Finishing
Paint the ceiling with a paint made for wet rooms, run the silicone joints, clean and check everything before handover.