Fifteen years ago, an Algerian living room was tiled in 40 × 40 or 45 × 45. Today 60 × 60 is the norm, and 60 × 120 is spreading wherever people want a continuous floor, nearly jointless, that makes the room look larger. Marble-look porcelain in large format has even become the obvious choice for a living room redone before a wedding.
But a big tile forgives nothing. A floor that waves by three millimetres goes unnoticed under a 30 × 30; under a 60 × 120 it shows up as lipping at every joint, tiles that sound hollow, and sometimes cracks. Here is what to check before you choose.
The floor must be flat, not just solid
The tolerance for large formats is about 3 mm under a 2 m straightedge. Check it by running the straightedge in every direction: wherever light shows under it, there is a dip. Beyond that, the floor needs a levelling compound before tiling, or the adhesive will be left to take up the defects, which it does badly.
Laying over old tiles is possible if they are sound, well bonded and flat: degrease them, sand them lightly or apply a bonding primer. Check the doors and thresholds too, because the floor rises by at least 12 mm.
The right adhesive, buttered on both sides
Large-format porcelain is barely porous: it needs an improved, deformable adhesive, class C2 S1, that follows the floor’s small movements without letting the tile go. An ordinary C1 adhesive suits small formats, not this one.
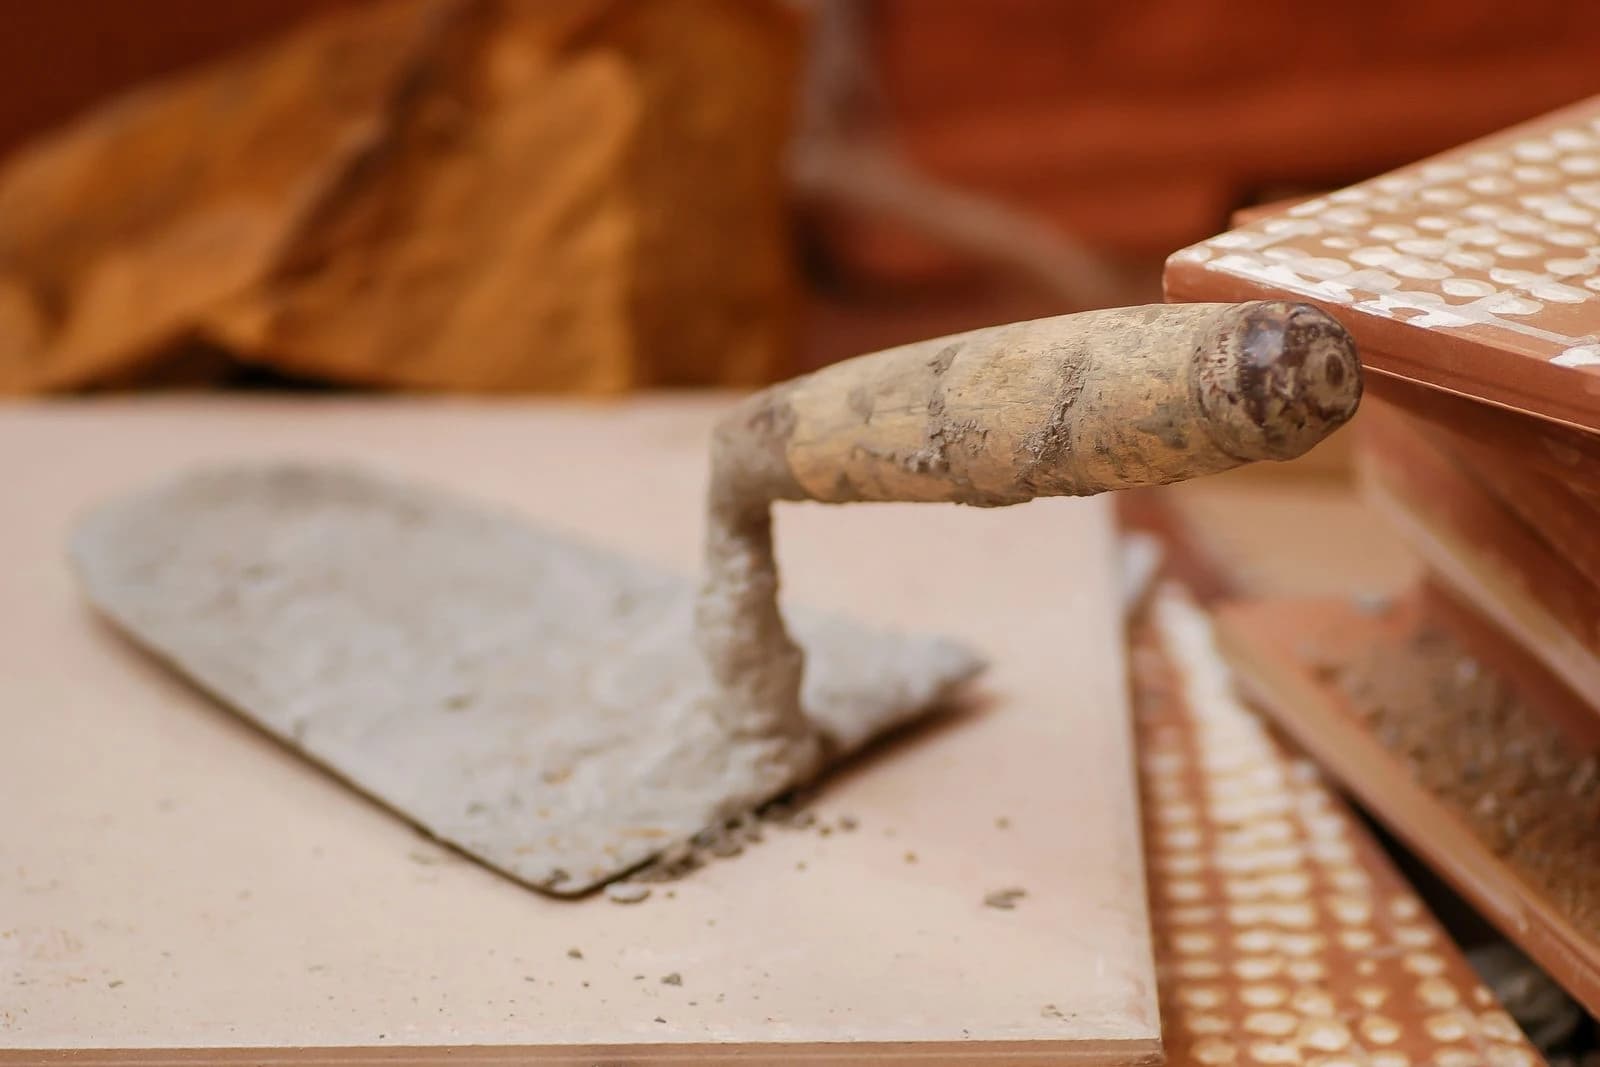
Lay with back-buttering: adhesive combed onto the floor with a 10 mm notched trowel, and a thin coat on the back of the tile. The aim is full contact, with no voids under the corners. A tile that sounds hollow cracks at the first knock or under a heavy piece of furniture.
Spacers, clips and joints
A rectified porcelain tile, with edges cut square, takes a 2 mm joint. Levelling clips — small wedge systems removed once the adhesive has set — hold two neighbouring tiles at exactly the same height while it cures. For a 60 × 120 they are not a luxury.
In an offset pattern, keep the offset to a third of the tile’s length: a half offset exaggerates the slight bow every large tile has and makes the edges show.
Waste and quantities
The bigger the tile, the bigger the offcut each cut leaves. Allow 10% extra for a straight lay and 15% for an offset lay or a room with many cuts. The tile calculator works it out in whole boxes and shows what will be left over.
Buy everything at once and from a single lot: two lots of the same porcelain can differ in shade or size, and on a large format the difference jumps out. A lot reservation keeps the quantity aside at the depot until the day of laying.
Handling a 1.2 m tile
A 60 × 120 weighs around 20 kg and snaps if carried flat by one side. Carry it on edge, with two people, or with a double suction lifter. Cut it with a tile cutter long enough for it, or a grinder and a diamond disc — never a tool too short that makes you force it.
This is not a format for a first attempt at tiling. If you are doing it yourself, start with a small room in 60 × 60; for a living room in 60 × 120, the artisan directory lists tilers who are used to it.